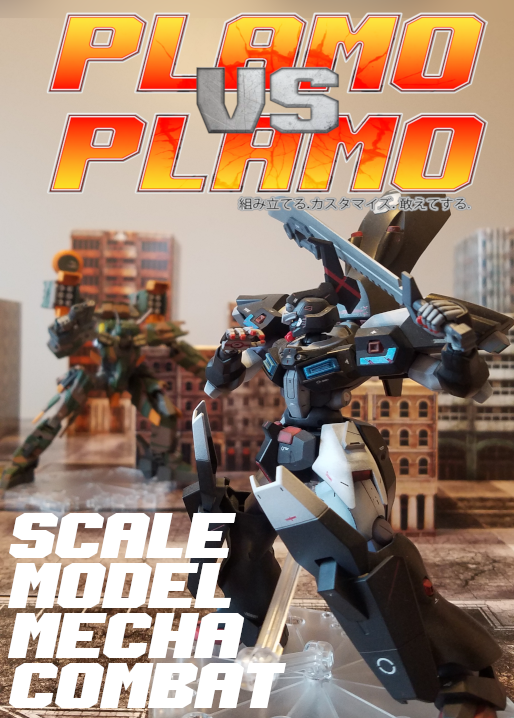
I've finally released Plamo vs Plamo: Scale Model Mecha Combat on Wargame Vault. This game has been in the works for two and a half years now and is the first game design project I ever undertook with a serious effort towards releasing a finished product instead of something me and my friends could just fuck around with. I have no expectations that this will be particularly commercial successful or anything, but I think it's a very good game and I'm very pleased with it overall. However, it did take a long time, and it was a complex project. Tackling it as my "first" game probably wasn't a great idea.
I'm going to record some of my closing throughts here so I don't forget them. Recap of last week's goals:
Outer Dark
It was a highly productive week. It's been a while since I wrote one of these because everything has been the same for some time. The goalposts have remained static because of the work I'm doing on Afterglow and Outer Dark. With the increased restrictions on social gatherings, I'm having less opportunities to test Afterglow's competitive game so I'm stuck testing Outer Dark. But I want to avoid making adjustments to Afterglow's mechanics or components (like the Ship parts) based on Outer Dark, because it's not reflective of the "main" PvP game. The automata for the Biocraft is pretty much where I want it after a lot of testing, and it all works pretty well in my view. The Biocraft work well in tandem with each other to make challenging tactical puzzles (the support Biocraft make games very interesting). Any more work on Outer Dark done, at this point, is meant for the campaign mode. So, Afterglow's progress is stalling out a bit, but there's still a few things I can do. They're mostly technical revisions but I'll take what I can get. Those will be the goal for the week. Goals for November 2 to November 9Afterglow
The last thing is a "sure, why not" move. I don't expect to hear back from my proofreader at this point and I've gone over it so many times myself that at some point I just have to push it out the door. This week is as good a time as any. Review of last week:
Split Second
Checking in from last week:
Split Second
Wasn't a whole lot on paper but it did end up being a lot of work. Review of last week's goals:
Split Second
Pretty good stuff. Last week's goals:
Split Second
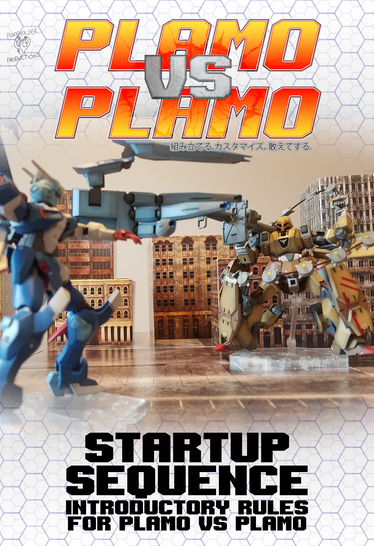
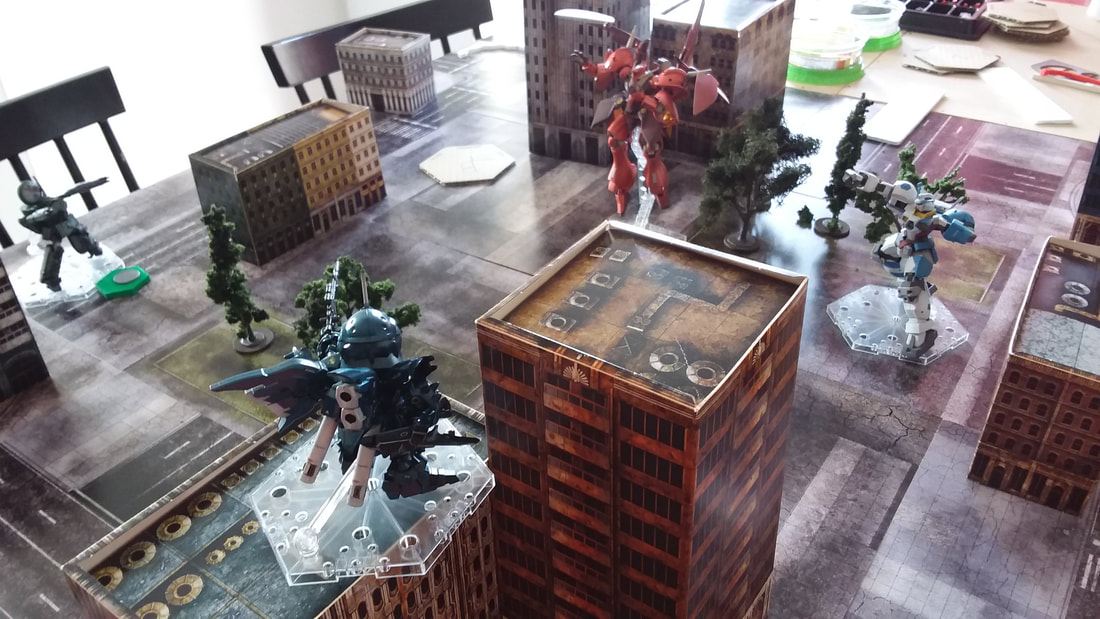 I posted a spicy hot battle report for Plamo vs Plamo hosted on Imgur. Please do check it out! In this game I was testing the Mystery Box acenario and also working out some of the Flying rules, as well as the Placement Weapons which the Loto was carrying.
The flying rules are ok. I'm not 100% happy with them still, but they're perfectly functional. The placement weapons are pretty cool, with the mind game of laying decoys and a variety of possible combinations of weapon types, triggers and effects. In this game the Loto was using normal mines, but you can build ones that push the enemy away or knock them down, set them on fire, all kinds of stuff. They were quite useful. All considered, a pretty good time. It was also interesting to play a four-way game with each player independently controlling one machine. The Action Track system makes this type of play very viable and fun, since everyone is involved constantly and there were lots of reactions flying around. I'm really happy with the way this game has shaped up. It's only taken two years. 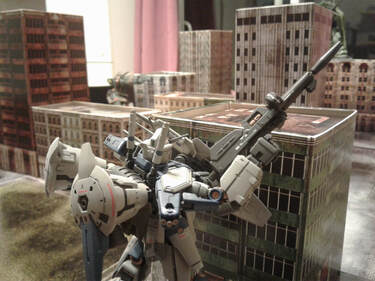 Big terrain is needed to cover for big models. Big terrain is needed to cover for big models. Plamo vs Plamo is often played with large buildings accounting for the majority of the terrain on the board. This is a for a few reasons:
That last point brings up a complication, though. In PvP the buildings are very interactive, using the Strcture rules; they get attacked, smashed, fall to pieces, catch on fire and explode. They have their own set of Critical Hit effects. But as a result, they need to be able to reflect a few states. Having them on fire or damaged is pretty easily accomplished with some markers, but when they actually get levelled by a howitzer, you need to leave the footprint of the ruins on the table. At first, when we were testing with paper cutouts, no problem. We would write "RUIN" on the piece of paper after a structure was adequately abused. But making the jump to 3D terrain presented a new challenge. What I settled on was a very thin piece of plasticard, airbrushed up enough to make it distinct on the table, but flat enough to not impede movement.  I'll cut to the very brief tutorial here and spare you the story below if you don't care. Plastic Sheet RuinsComponents:
Instructions:
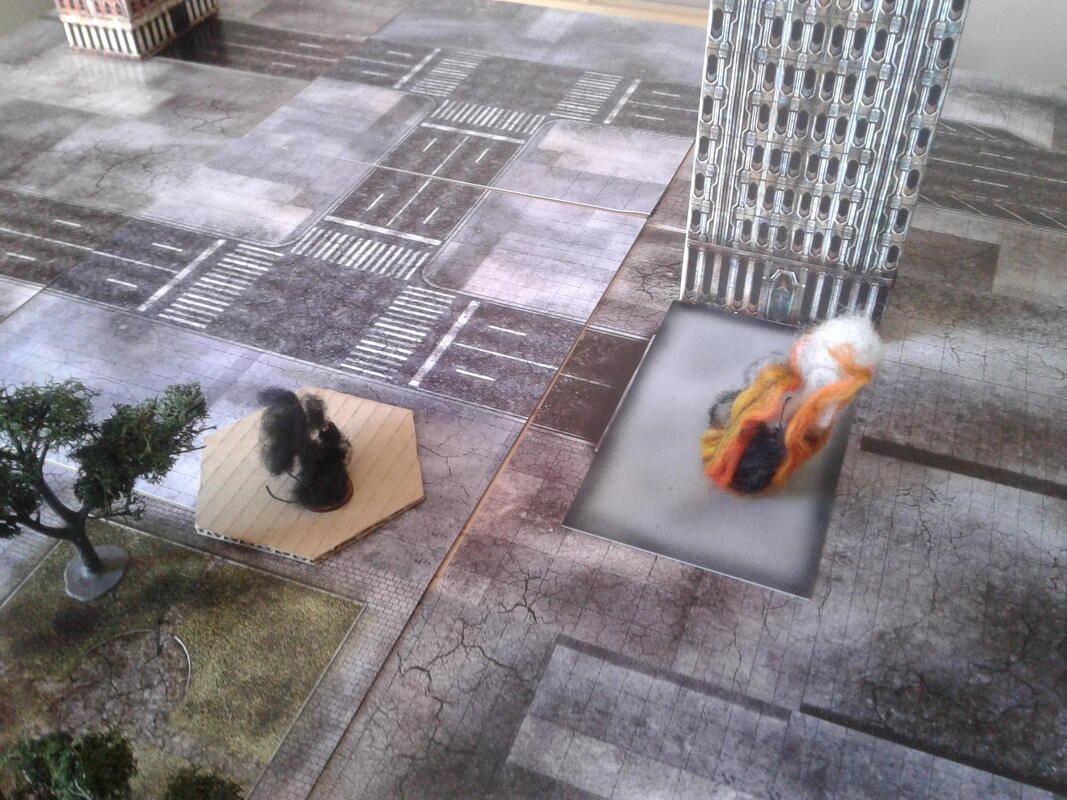 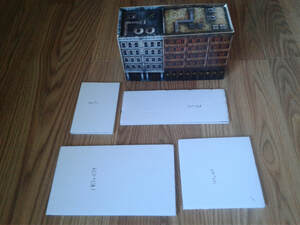 This wasn't my first choice, but it was a good intersection of price, speed to make, and utility. An added bonus is that they take up almost no room and add no weight to storage and transport; I just stack them, put a stiff piece of hardboard behind them all and wrap them with an elastic to keep them straight. I had originally wanted to do 3D stuff using foamboard and traditional wargaming bits like small piece of rocks and gravel, glue, that sort of thing. I have no doubt you could make a very classy set of building wrecks this way, but my early efforts didn't pan out right and I needed them before some demo games. My early plan was to make cutouts of all the base sizes of the buildings from the Dropzone set. Easy enough. But then when I started adding to them, the problems quickly turned the whole thing sideways. A lot of this is me being an IQ-65 moron, obviously. The first hint of glue, paint and primer started the warping process that led me to abandon these. The foamboard's bowing wasn't great, so I tried cutting vinyl tile and using them--a big standby for me with terrain basing. But cutting them as precisely as I wanted was time consuming, the edges needed to be dremeled, and ultimately, they were still actually annoying to play with since the models would end up being a bit tipsy on them. 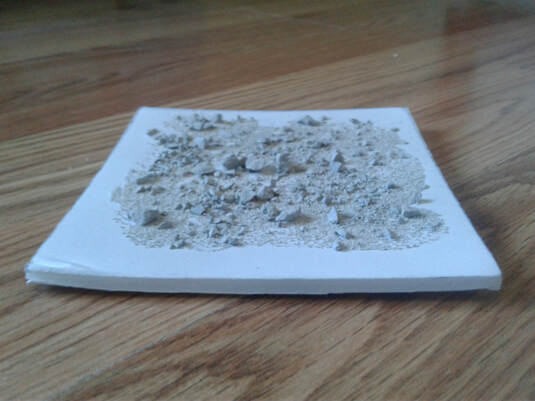 With some more effort this probably could have looked pretty good, but it still wouldn't have been as functional as what I have now. That's how we ended up with the burnt-edge rectangles as building ruins. They're just cutouts of .5mm plaplate with primer, a rough spray of gray plaint, and then the edges are airbrushed with a darker primer. I then clearcoated them with Future to protect them and topcoated them to take the shine off. Leave them to sit for a week so the paint can cure and harden and they don't stick to each other in storage and you're good to go.
|
Blogroll SearchArchives
September 2023
Categories
All
|
 RSS Feed
